
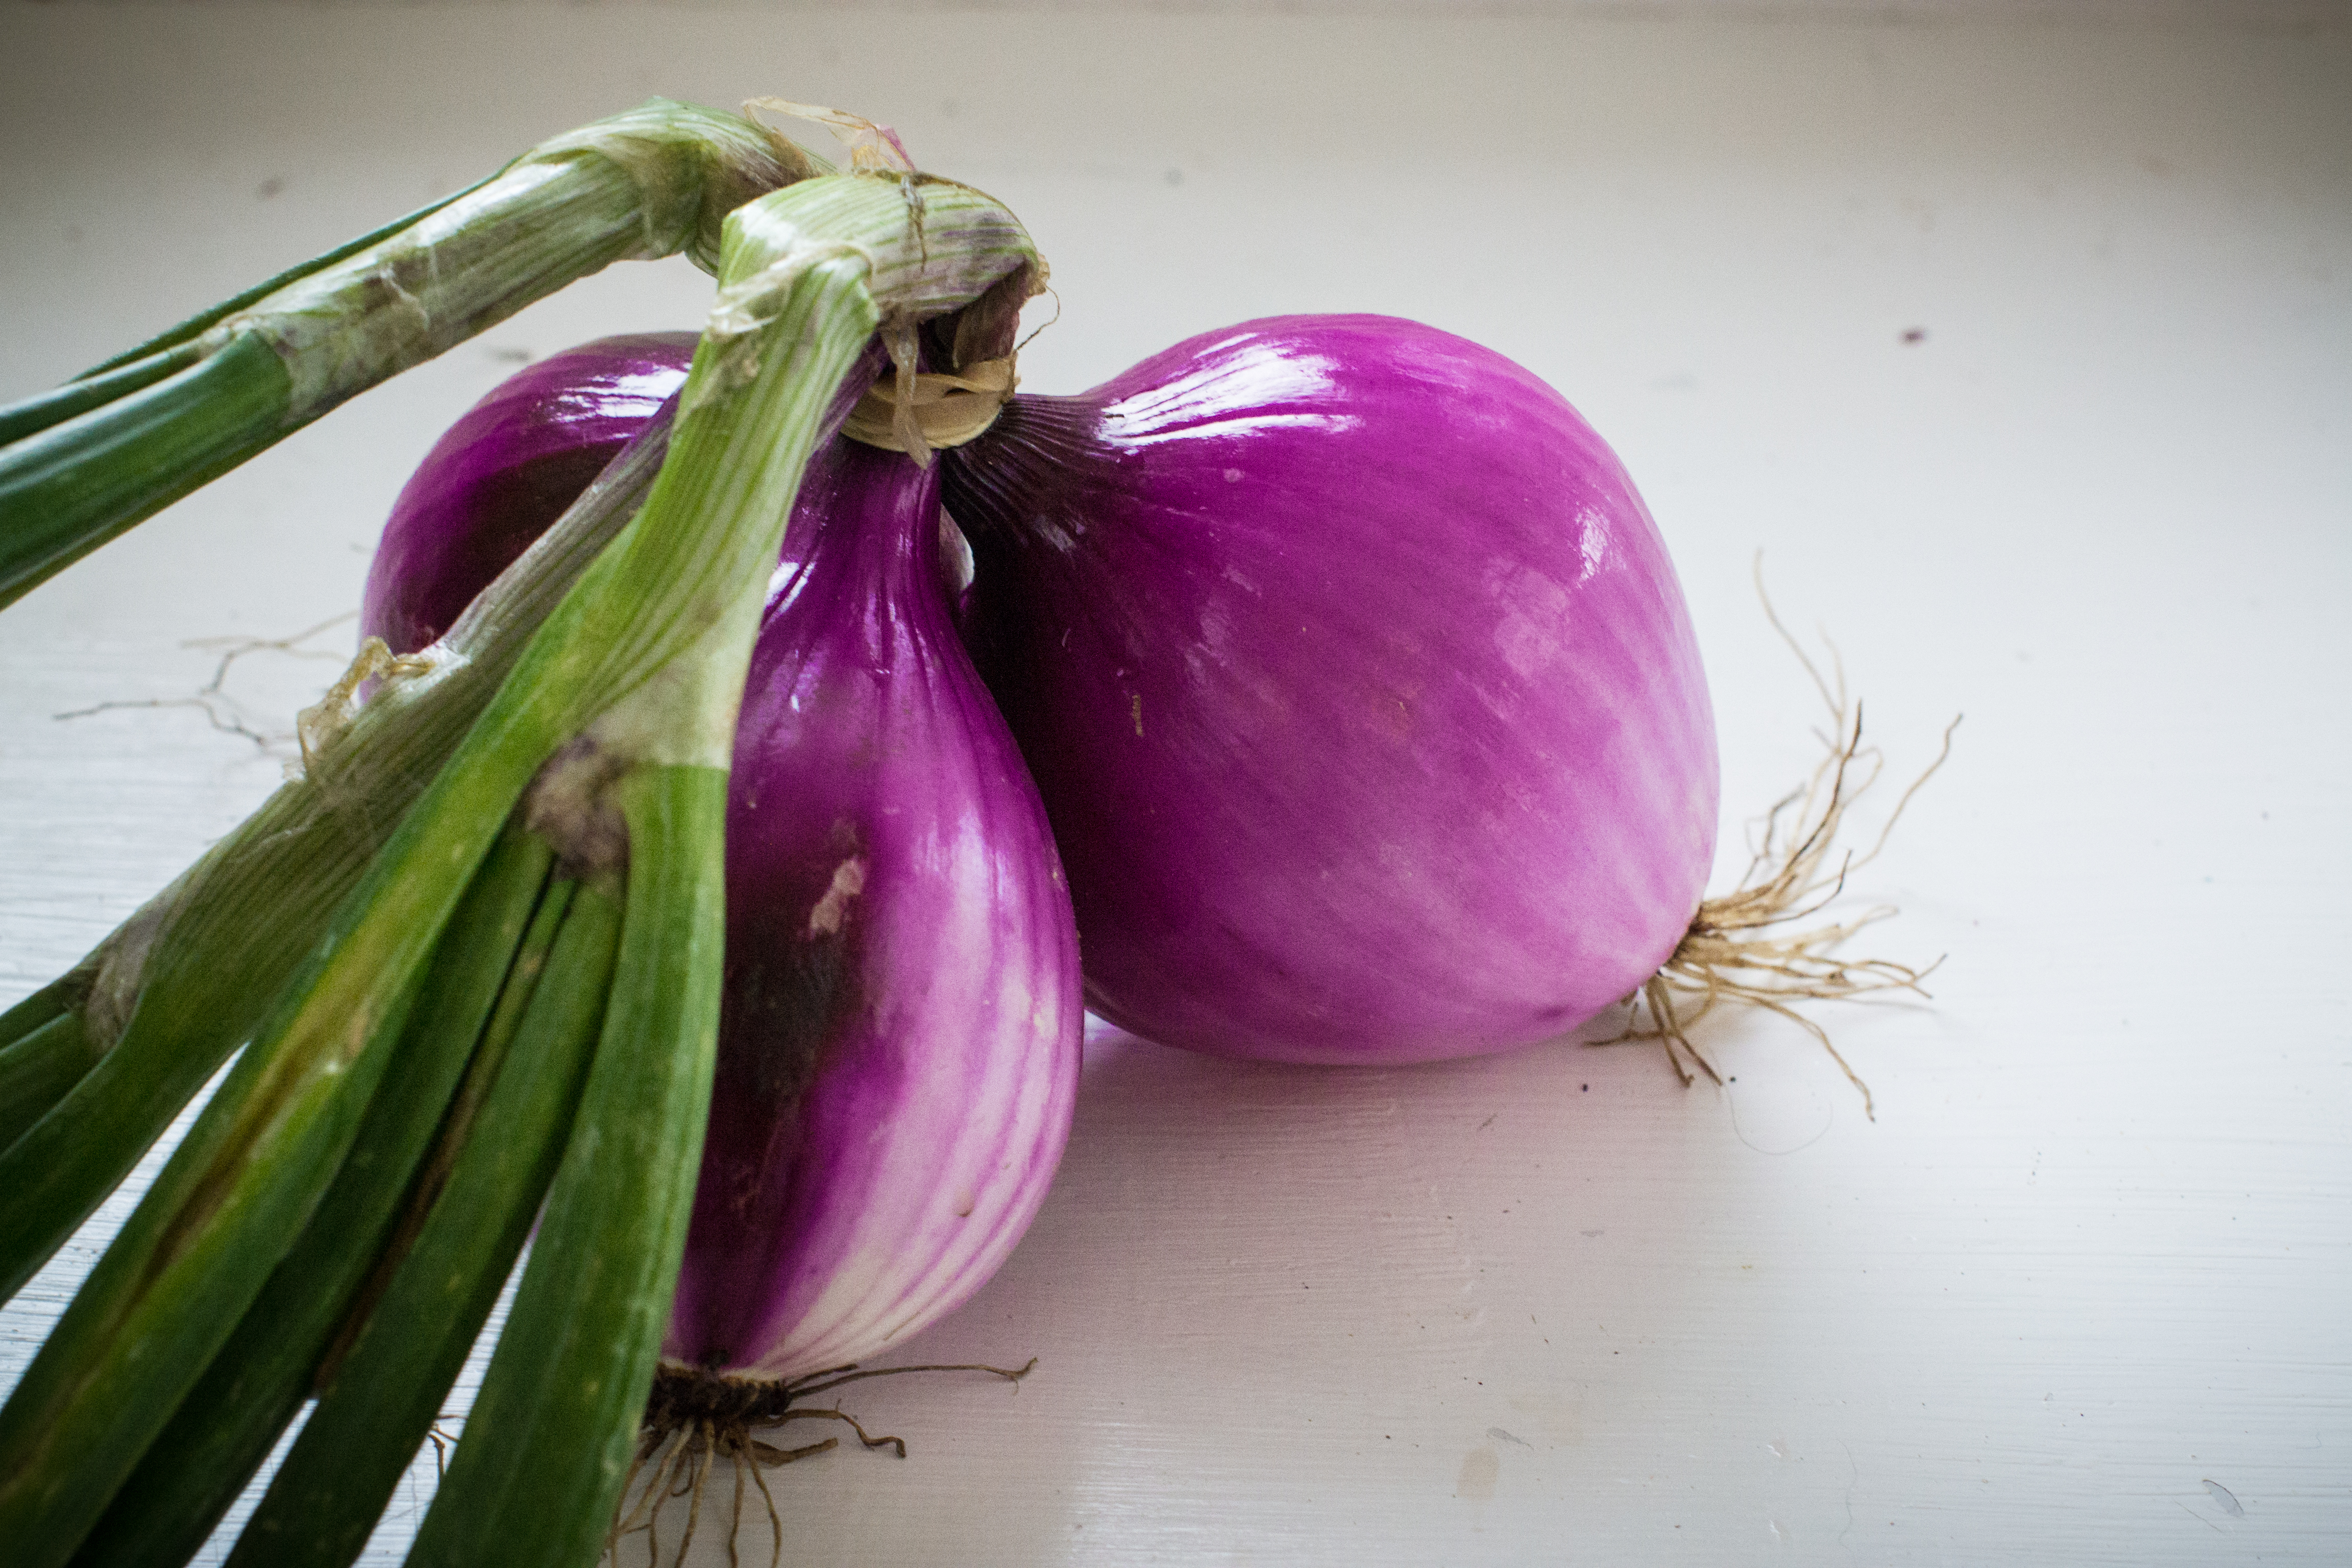
Admittedly, I’m obsessed with pickling and canning things lately. My farmer’s market volunteer gig isn’t helping my cause. Red onions are in season right now and I keep coming home with them. They aren’t the worn out, been-stored-too-long versions of onions you see in the grocery store. The ones I can’t resist are the shiny, fresh, local ones that have such an amazing purple color that I can’t not purchase them.
We eat a lot of onions in this house, but these weren’t meant to be cheapened in a sauté pan or diced up into run-of-the-mill potato salad. These were meant to be on display.
 Picked onions have many uses: to garnish salads, in wraps and on sandwiches (while in Vermont a few years ago, I had a wrap with hummus, Vermont cheddar, and pickled onions and I’ve never forgotten it), in savory crepes, and honestly just about anything. They don’t have the same bite that raw onions have, so you can go to town.
Pickles can be time consuming, jam and jelly can be really finicky, but pickled onions really are cake. Even if you are a novice canner, you can make a batch of these in under an hour. Don’t be nervous. Pickling is the best way to start preserving because of the safety factor. Vinegar is really high-acid, making it difficult to poison your family if that is your worry surrounding preserves.
Here’s how you make them. This recipe makes 6 half-pint jars.
Pickled red onions
Adapted from several different pickled onion recipes
Ingredients
About 3-4 red onions, depending on size
2 cups of water
1/2 cup of apple cider vinegar
1/2 cup of white vinegar
1/4 cup of sugar
5 tbsp salt meant for pickling (kosher and/or without anti-caking ingredients or you can play it safe and buy salt specifically meant for pickling)
18 peppercorns
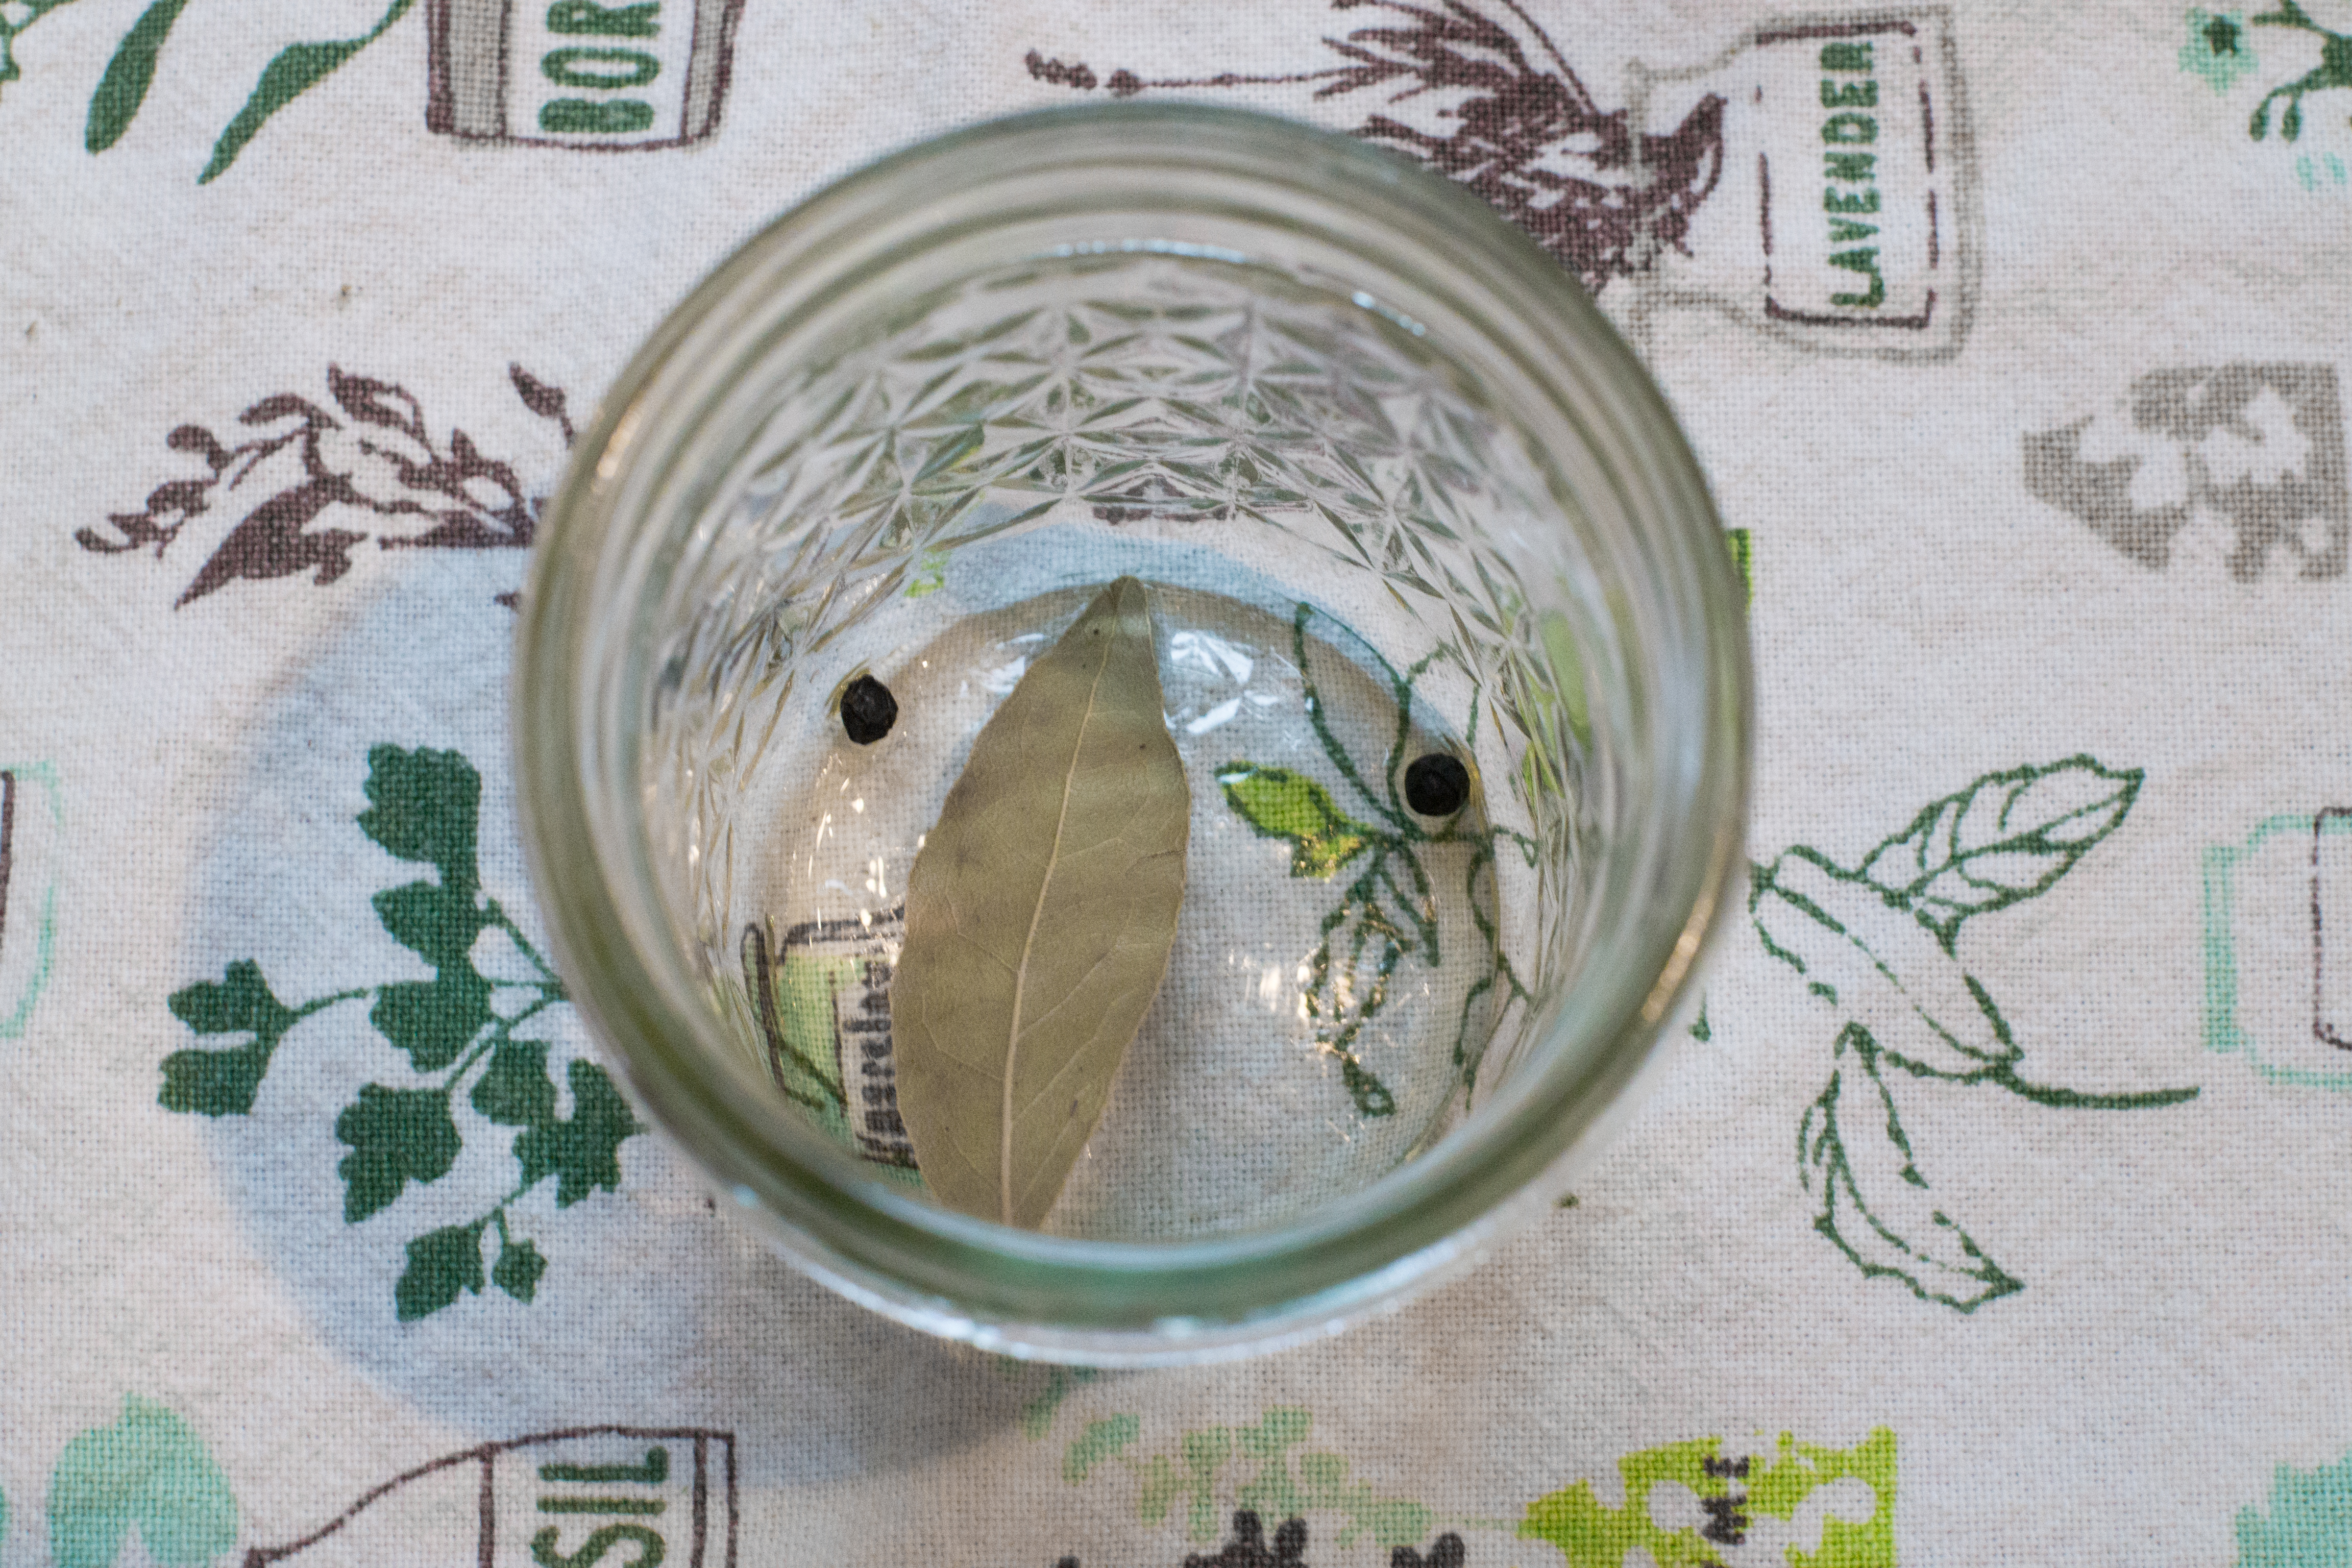
6 Turkish bay leaves
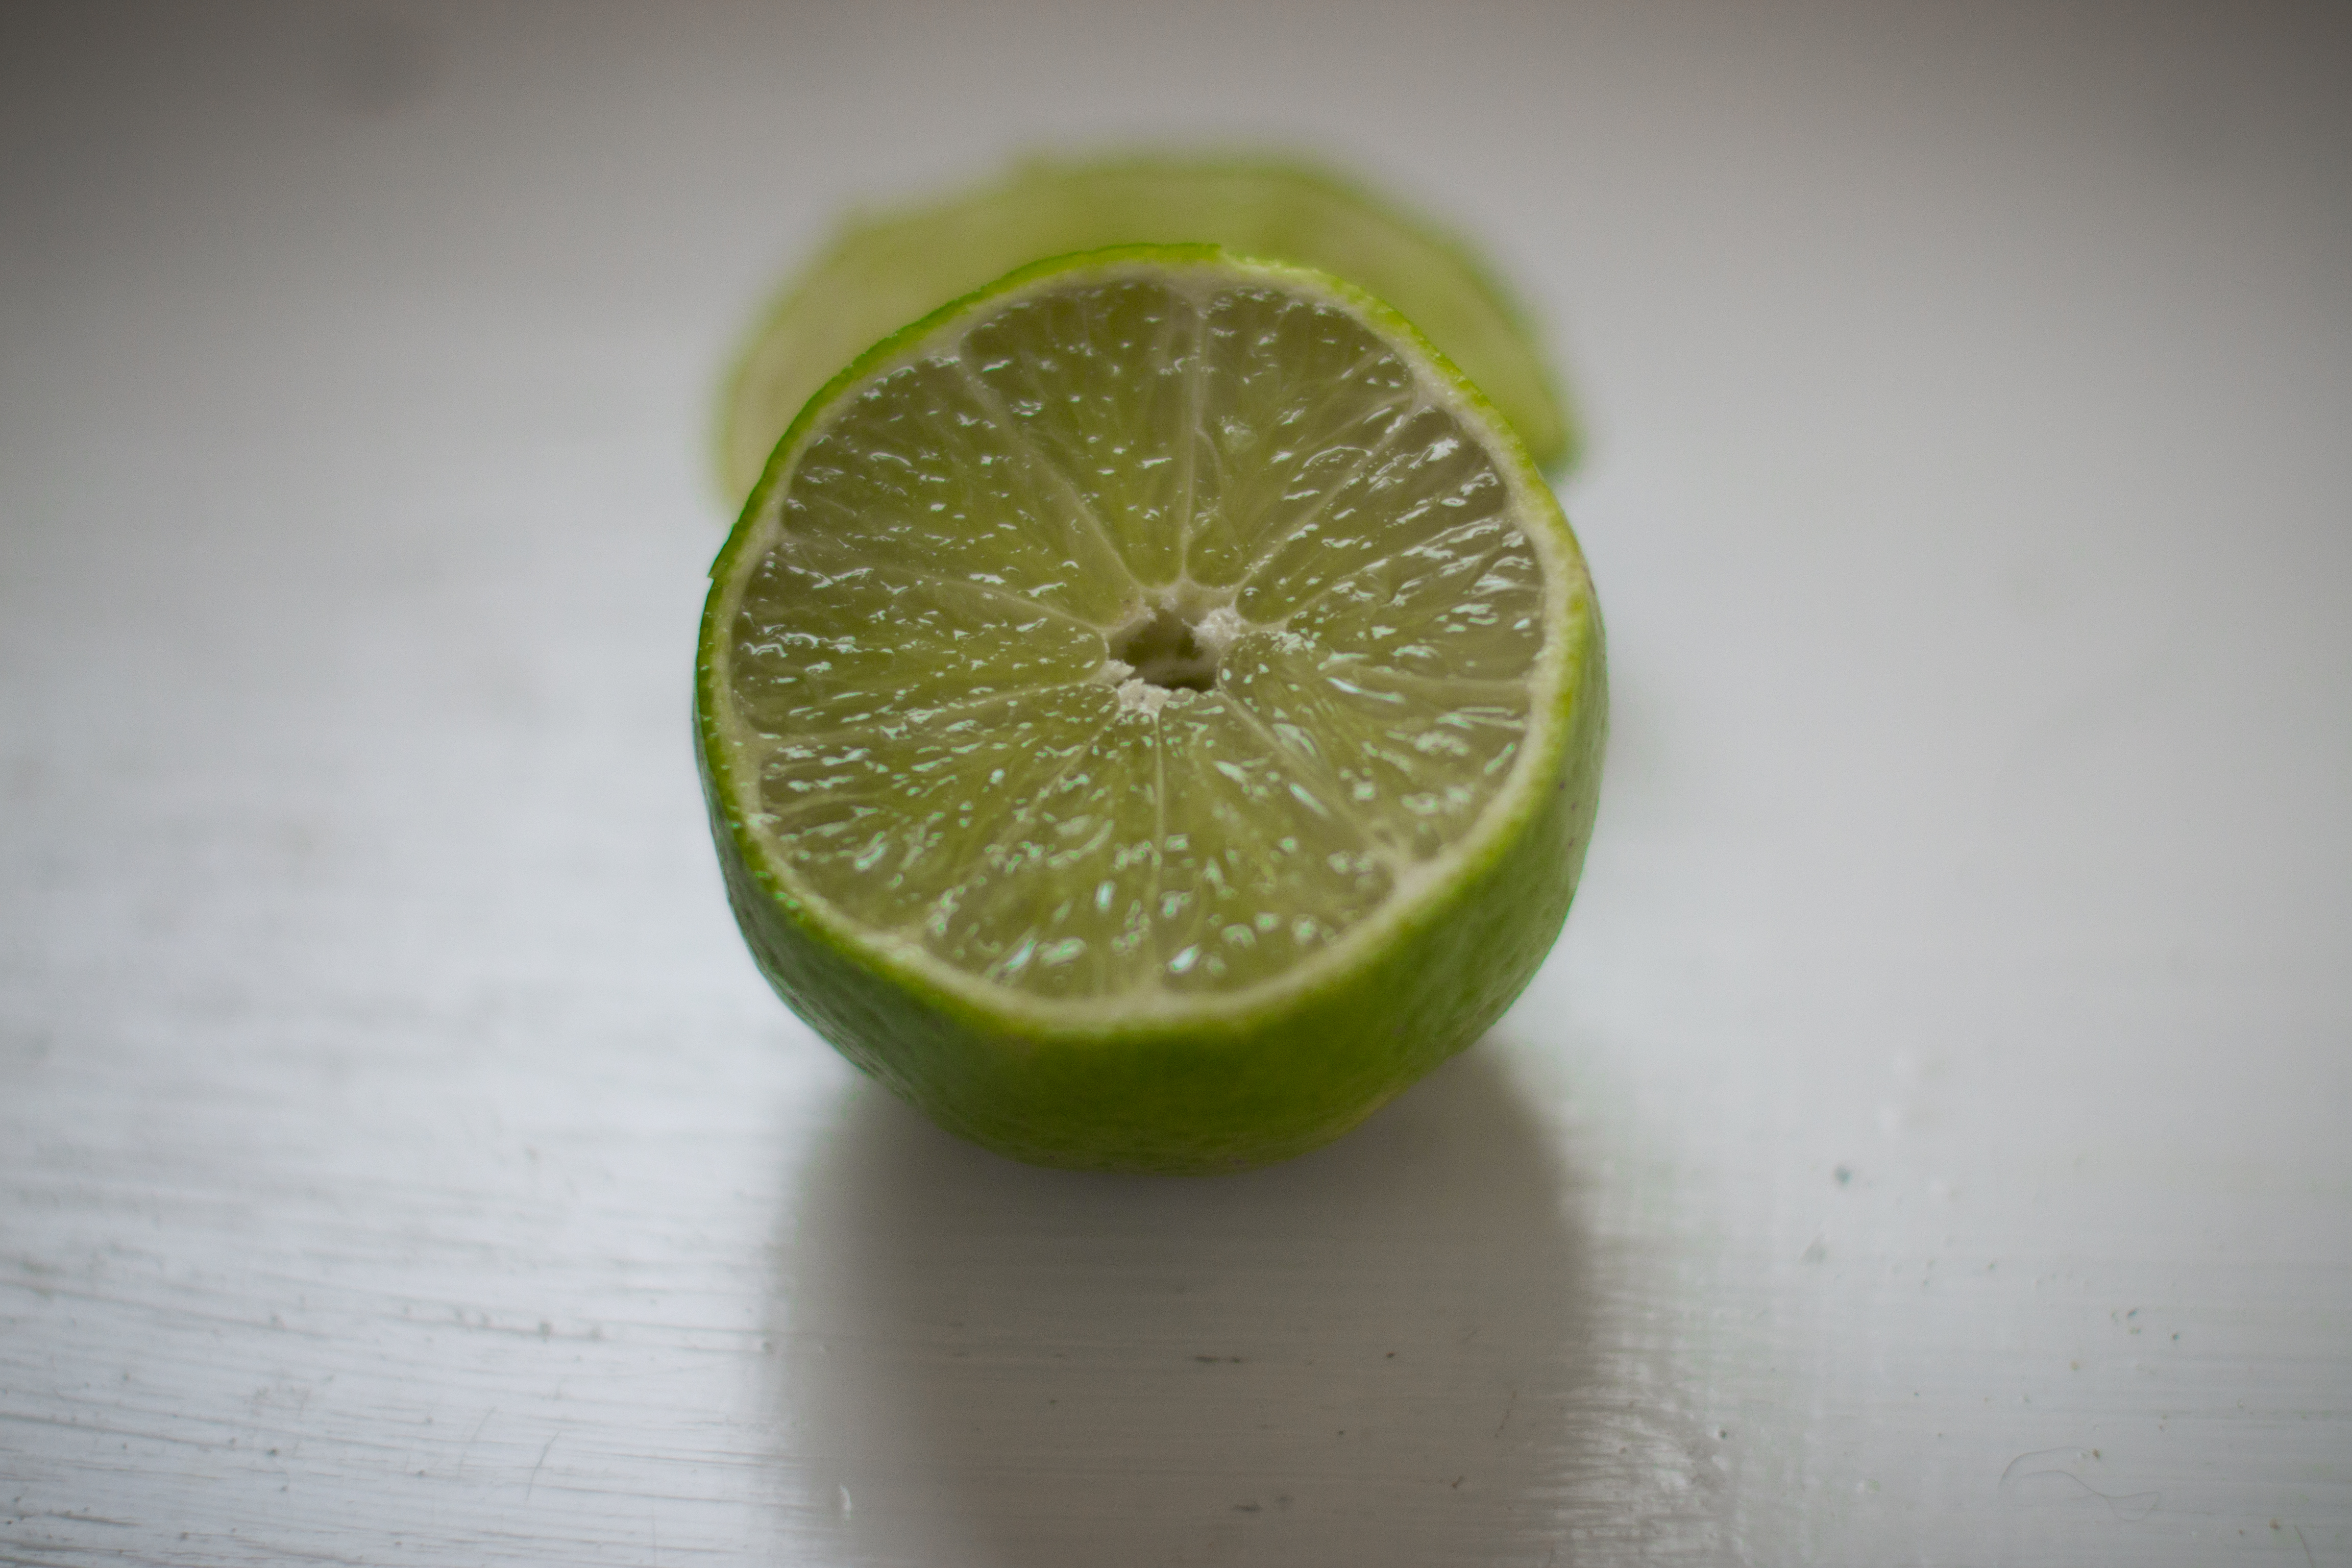
juice from half of a lime
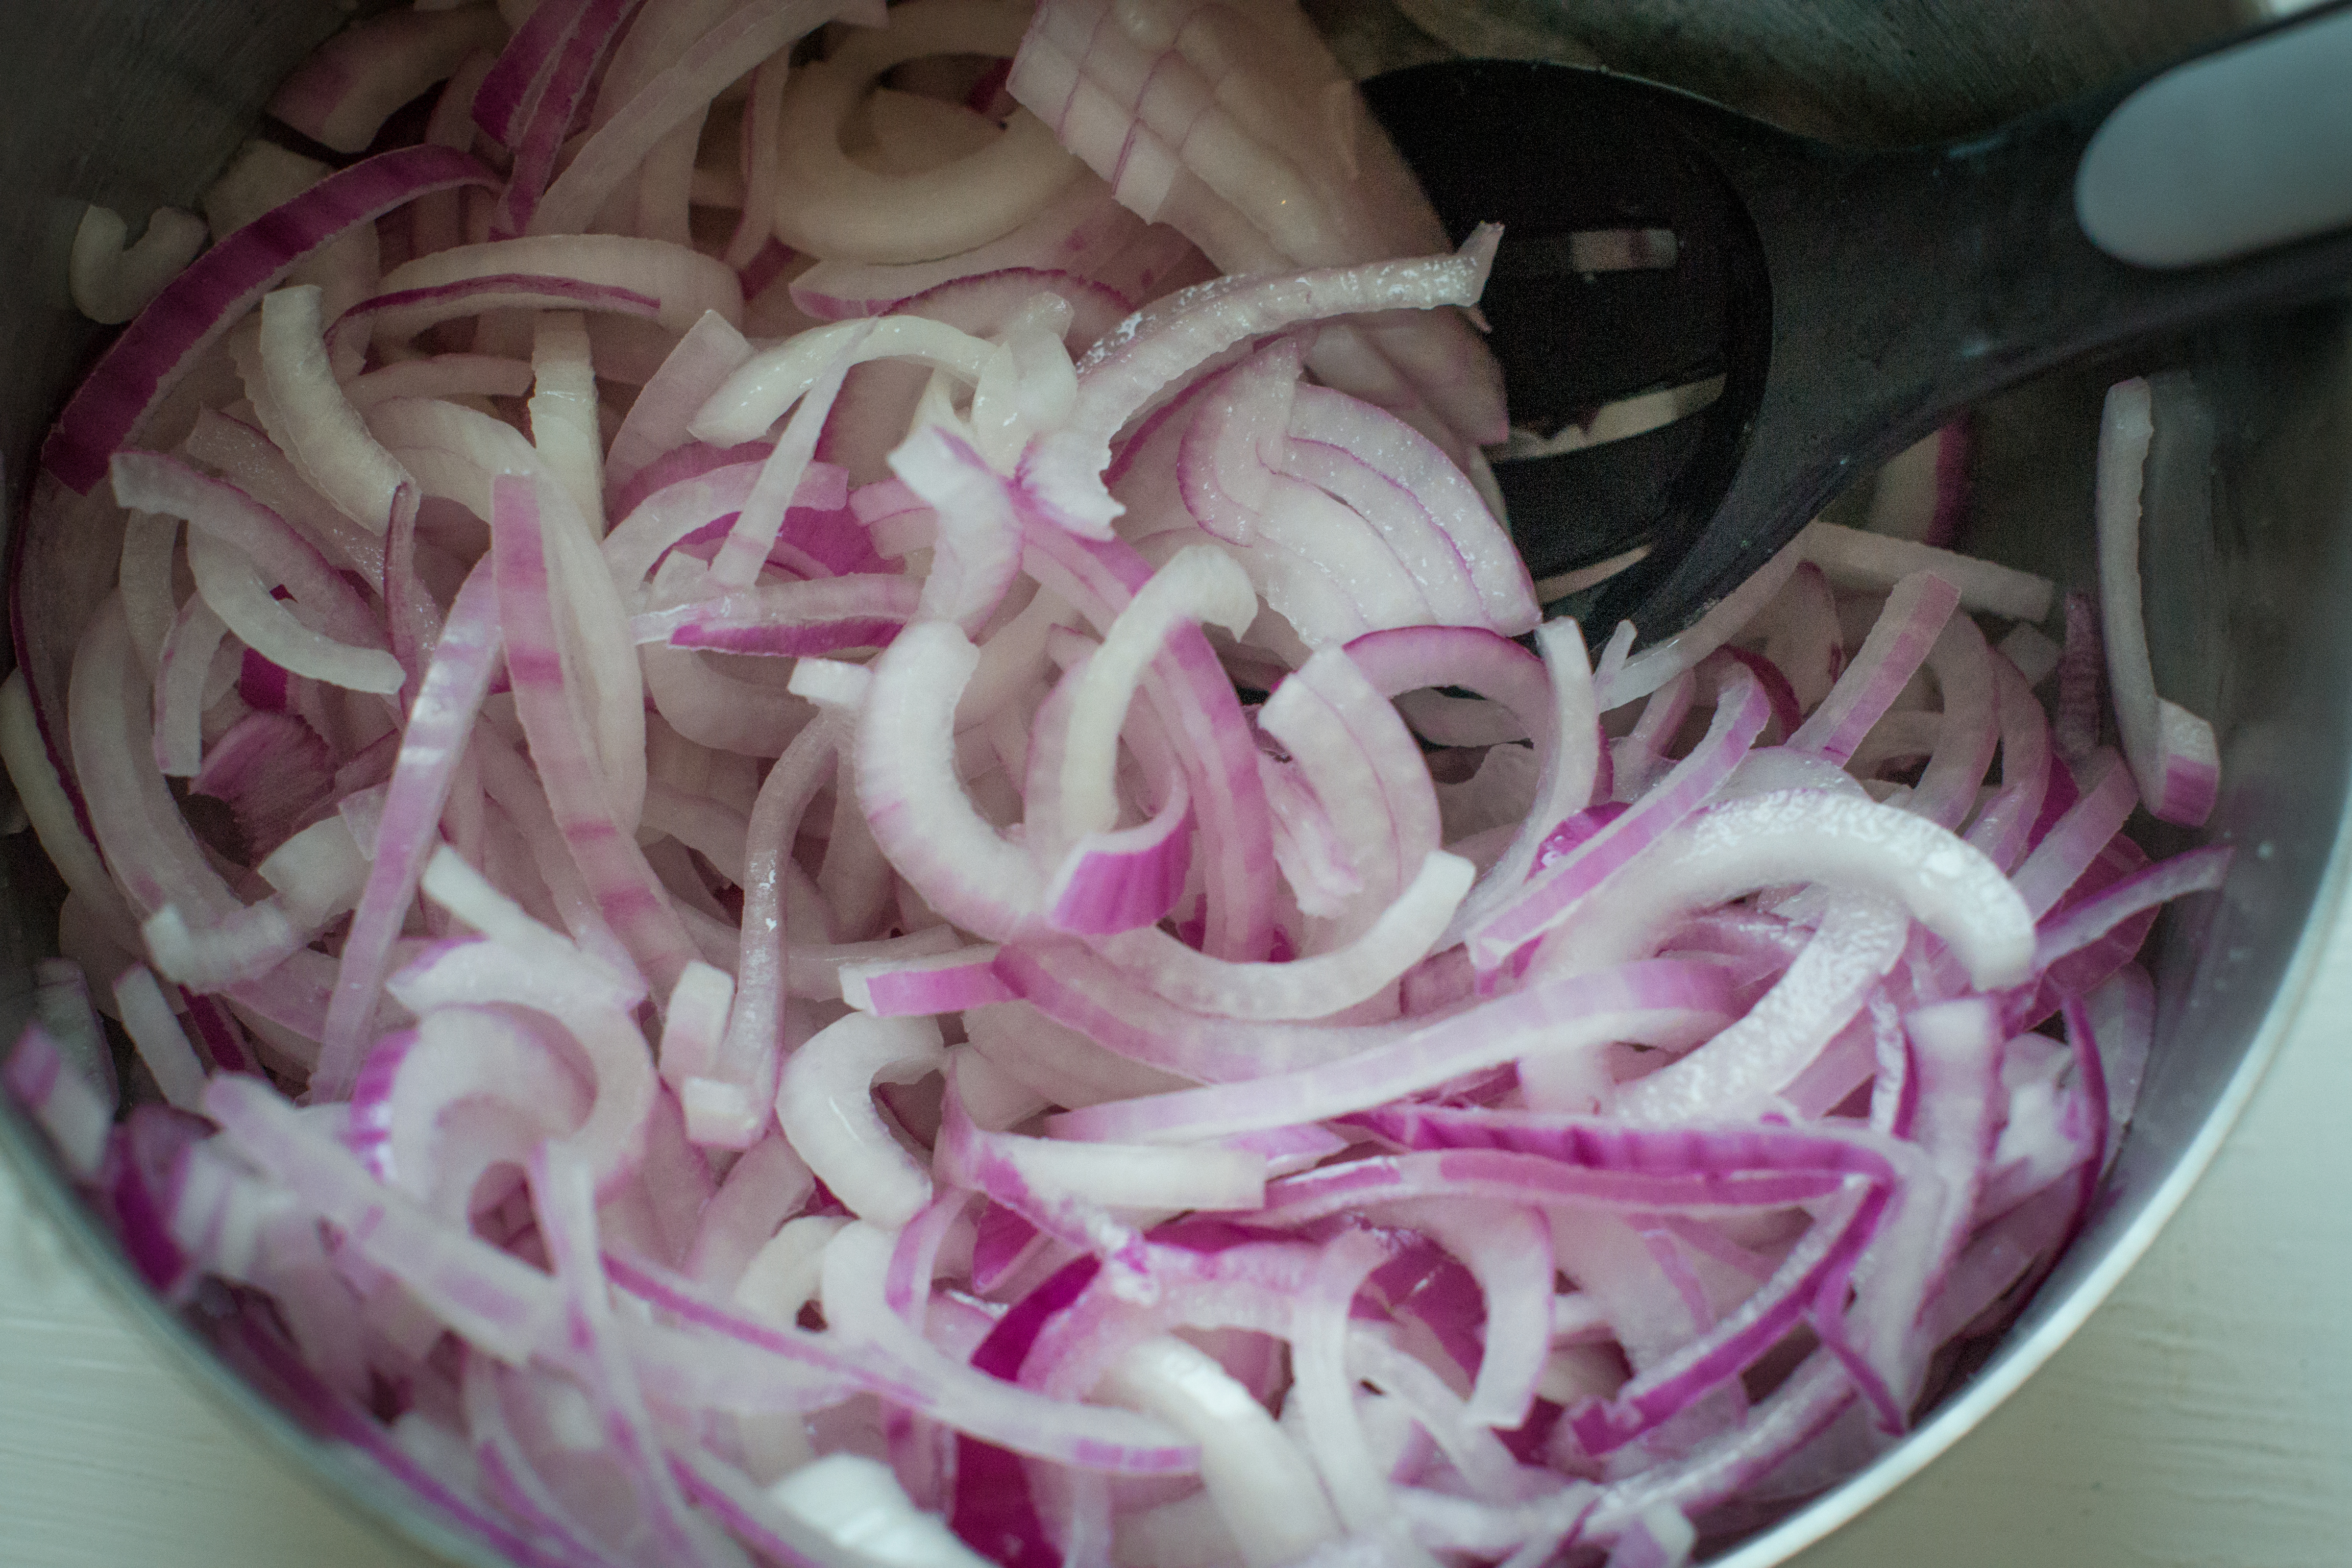
1. Chop your onions. Mix 1 1/2 tablespoons of the salt into your onions and let sit for 20 minutes.
 2. If your jars are new, wash them (and the lids) with warm, soapy water and rinse well. Sterilize your jars by submerging (completely) in boiling water for 5 minutes. You won’t need to dry them because the hot water will evaporate.
3. Prepare your brine. Add the vinegar, water, sugar, lime juice, and remaining salt (3 1/2 tablespoons) to a pot, simmer, and stir until the salt is completely dissolved.
4. In each jar, place one bay leaf and 3 peppercorns.
5. Rinse onions. Pack them into the jars. Gently press the onions into each jar with a big spoon.
6. Pour your brine on top, leaving about 1/2 inch of head space.
7. Wipe the mouths of the jars. Fit your lids (make sure they are new and never used before). Gently add the bands (these don’t have to be new and can be reused).
8. Place each jar in a boiling water bath for 10 minutes. If you plan on canning, I do highly suggest investing in canning tongs such as these to make your life easier and prevent burning yourself by trying to improvise with other utensils that don’t grip the jars.
9. A few minutes after taking the jars out, you’ll start to hear the pings of the lids sealing. Once cool, remove the bands and test the seals. If the seal is good, replace the band and store. If the lids didn’t seal properly, keep them in the refrigerator and use within 2 weeks.
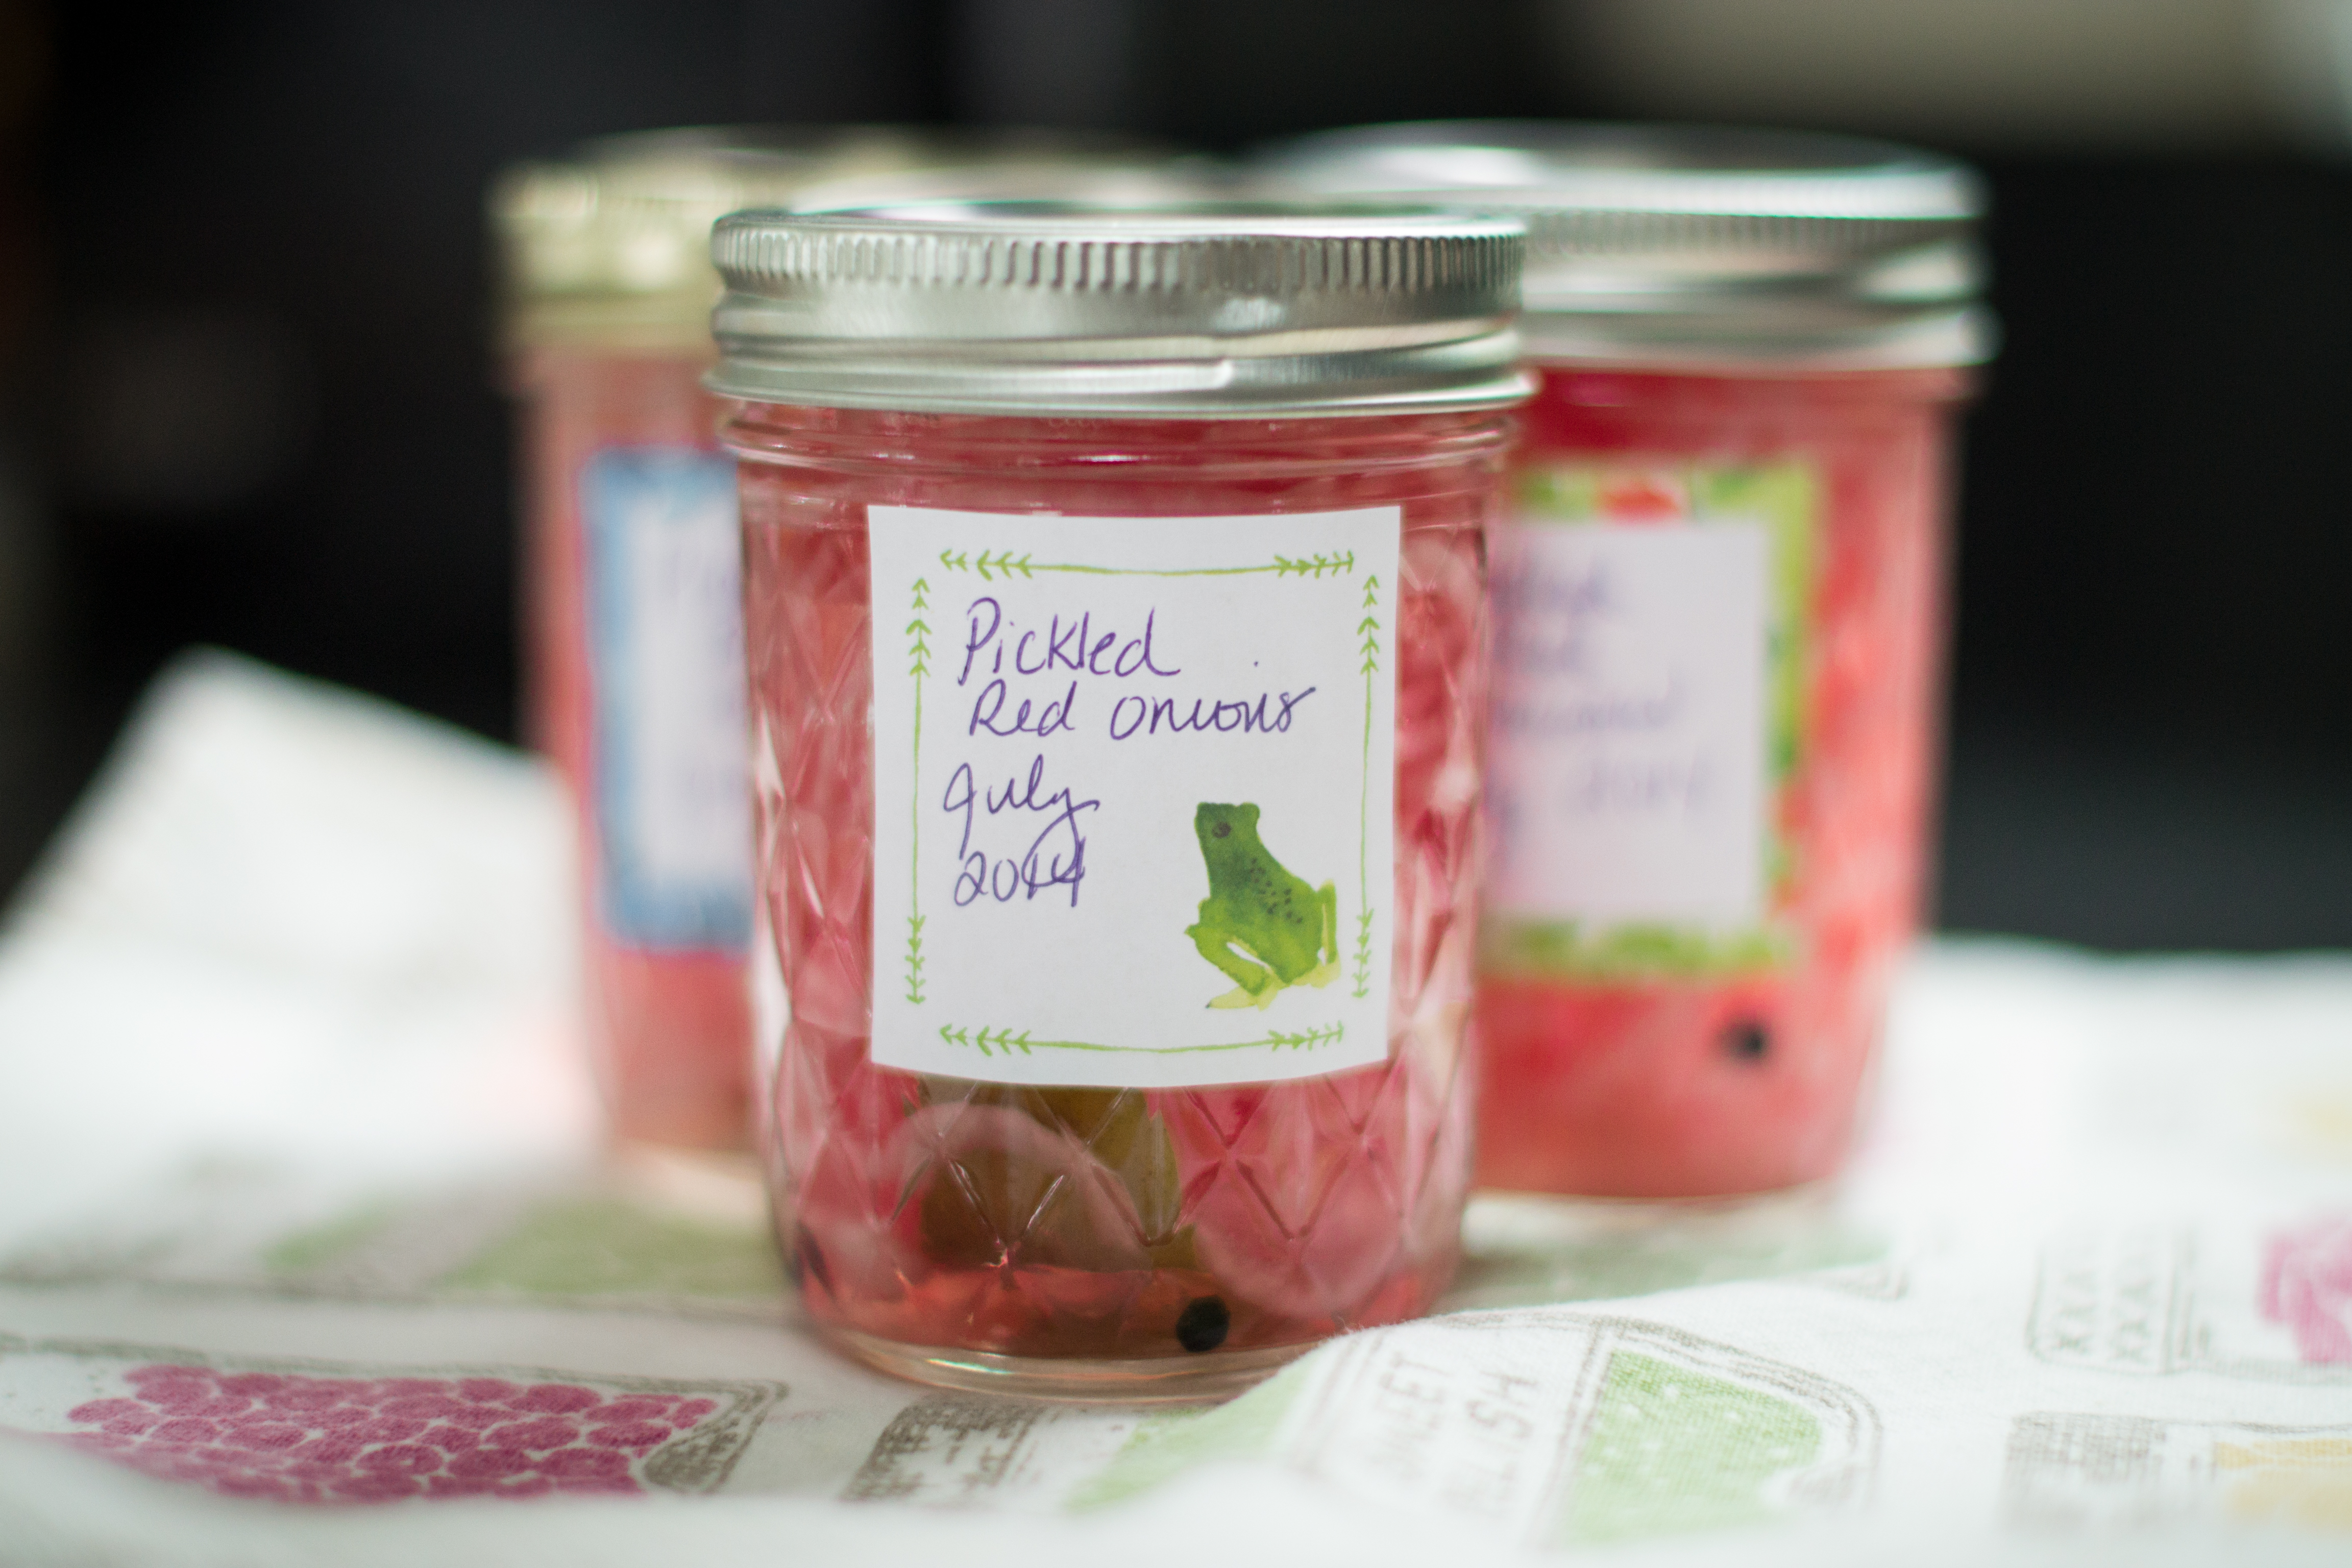 10. Add your labels after the jars have completely cooled.
My favorite labels:
Garden Studies Labels & Stickers (as seen above) by Chronicle Books
 and the Mason Jar Stamp Kit by Sugarcube Press.

The spokesperson for the Winthrop Farmer’s Market agreed to a promo shot.


looks delicious!! (love the cute labels!!)